Looking to get involved with Model Aircraft or Helis? Here is some information to help you get started.
Before rushing out to buy the biggest and fastest model available come out to our flying field one weekend and have a chat to some of our members, we are happy to help you with advice on buying your first model and if you decide to join our club we can give you free flying lessons so that you can learn to fly your model correctly and safely.
Click Here to download the Club Membership Form
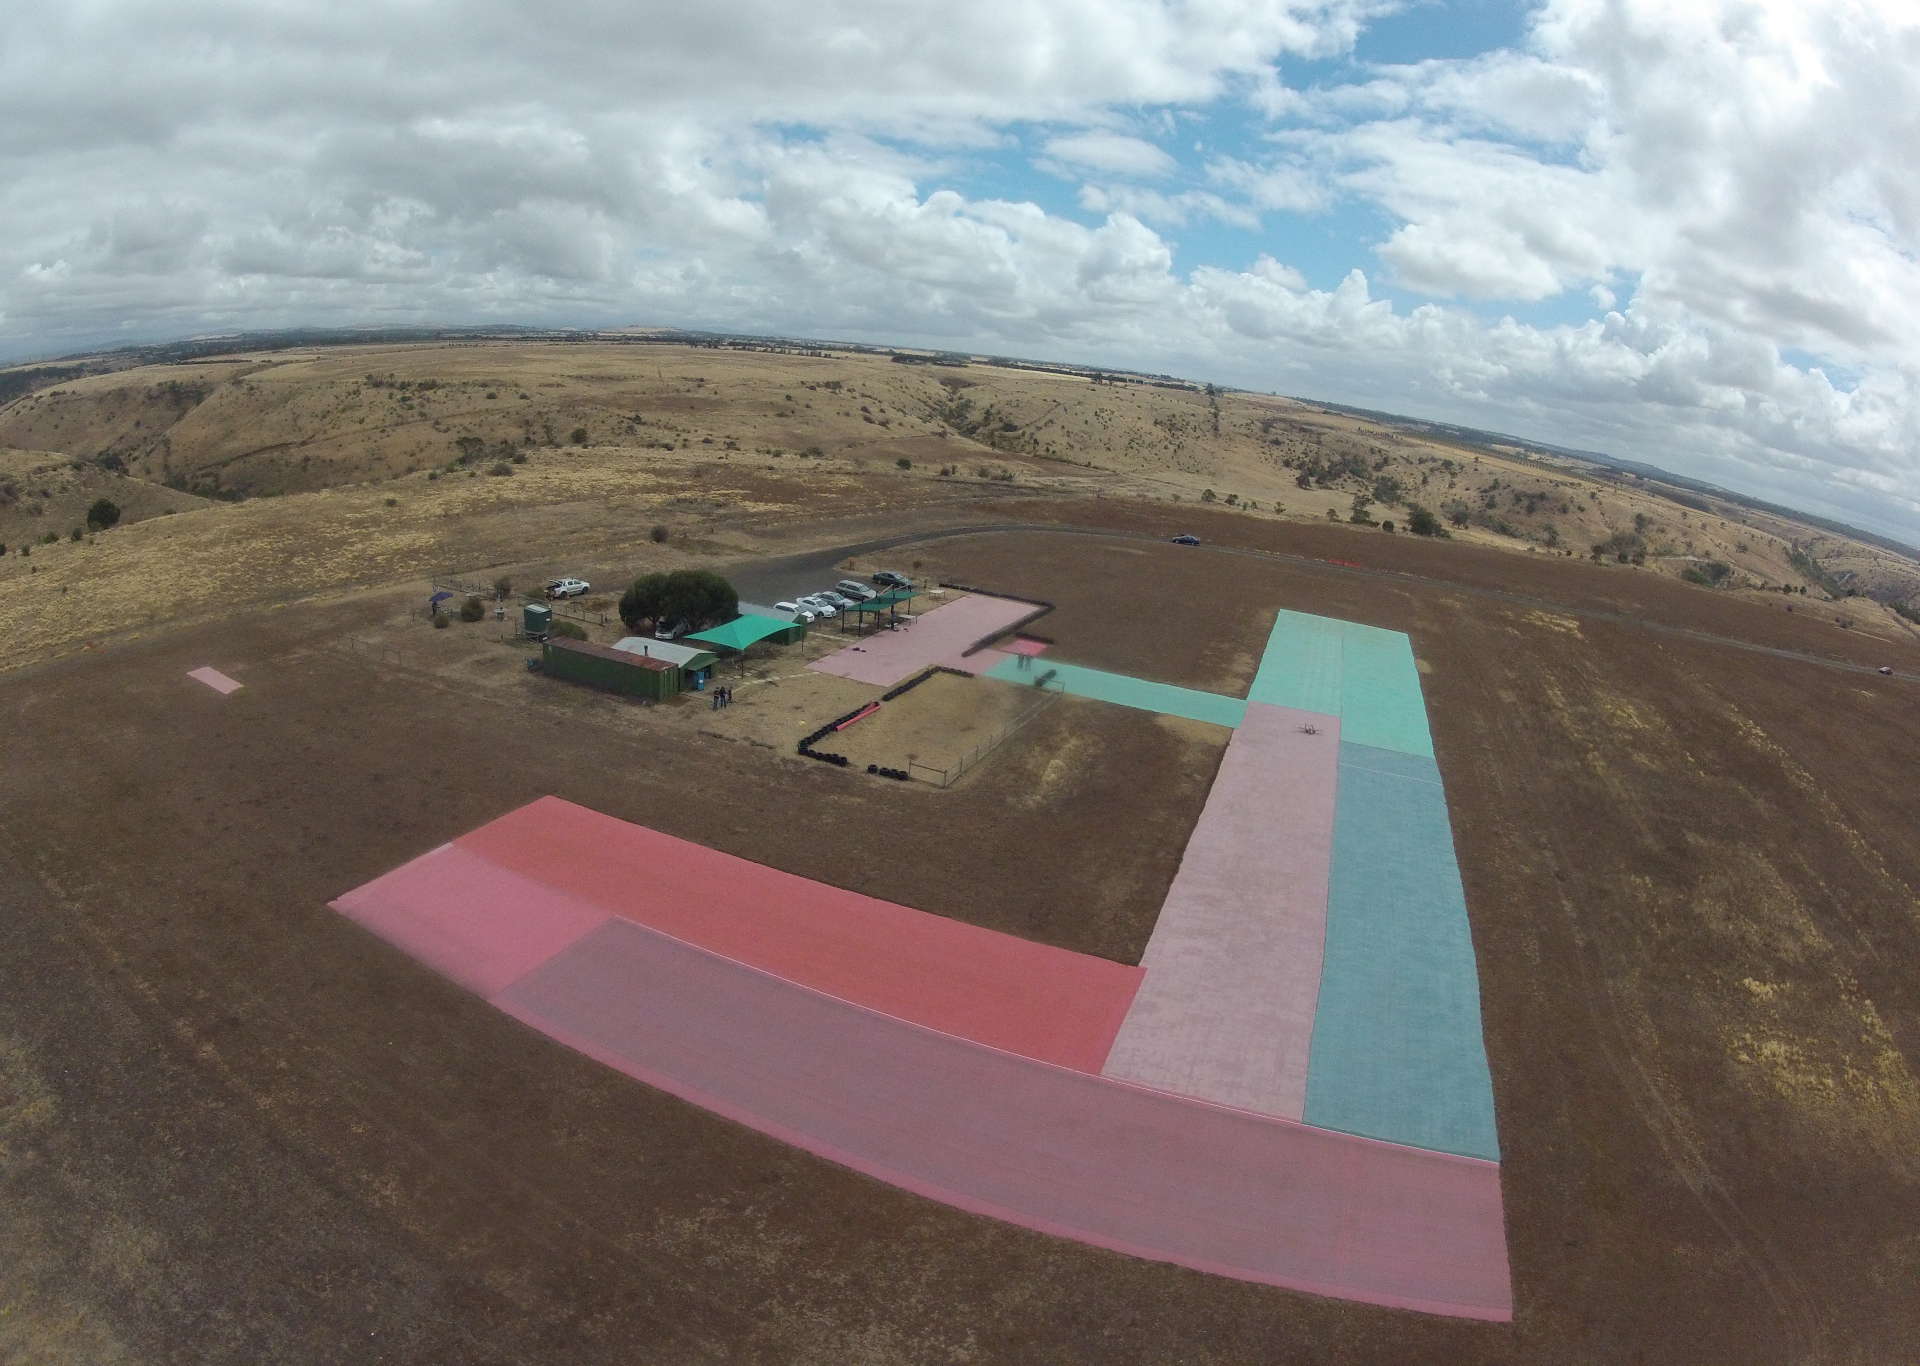
Once you’ve organized your membership and been certified by an Instructor as Solo, you’re free to come and go from our field as you need, until solo is obtained you will need to have your instructor or another “bronze wings” certified pilot spotting you to fly at our field.
How do I get started?
Find out what you’re getting into. Many helpful books and videos are available about RC modelling. Or, before attempting the “real thing,” you can try your hand at one of the R/C flying simulators available for your PC. There are a number to choose from – We recommend either Phoenix or Real-flight! If you prefer to fly with a “real” model first, check out our helpful Planes or Helicopter section.
Find an instructor. With an instructor, you’ll learn faster and with more confidence than if you start out solo. If your instructor’s radio has a trainer system, you can buy a compatible radio, connect the two, and fly with less risk to your plane.
Pick your power. With the fast growing popularity of electric power it is now quicker and cleaner to get in the air than before, if electric is not your thing then there is “glow” engines that are typically 2 stroke motors that run on a mix or methanol and nitro, if going big is your thing the next step is 2 stroke petrol engines, these run on 95+ octane petrol and racing oil in a 40:1 mix
A few things to think about.
How much does it cost? A lot depends on your budget. You can spend as little as $100 or as much as $1,000 on the basic equipment. Average cost for a complete (but no frills) beginner package runs around $300-$350.
How fast does a model go? Trainers usually cruise at 50-60kph and can land at speeds as slow as 25-35 kph. However, there are also unmodified, off-the-shelf airplanes that can deliver speeds of over 200 kph!
How far can a model fly? The range for a modern R/C system is about a kilometer. But to maintain control, you need to have your model close enough to tell what it is doing. Even a plane with a 5-6 foot wingspan looks tiny at half a kilometer.
What happens if I run out of fuel in flight? Contrary to popular belief, you have control even if your engine stops running. You just glide your plane in for a “dead stick” landing. The radio system has its own batteries for power.
After reviewing the “Flying Basics” below, you should have a good idea of the design characteristics you will want in your first plane.
Flying Basics
Aerodynamics: To fly, an airplane’s wing has to overcome gravity by developing lift greater than the weight of the plane. Since it can’t do that standing still, airplanes use thrust…force directed backwards…to drive the wing forward through the air and generate lift. However, thrust has its own opposition to overcome in the form of drag—the resistance of the air to a body moving through it. If lift and thrust are greater than gravity and drag, you have the potential for flight…and fun. Wing Location: Wing placement, for the most part, falls into two major categories—high wing design and low wing design. In a high wing design, the weight of the model is suspended below the wing. When the model tilts, the model’s weight tries to return it to a level position. As a result, high-wing models tend to be more stable, easier to fly—and natural choices for trainers. A low-wing model is just the opposite. With its weight above the wing, it tends to be less stable—excellent for advanced fliers who want to perform rolls, loops and other aerobatic maneuvers.
Airfoil: If you face the wing tip of the plane and cut it from front to back, the cross section exposed would be the wing’s airfoil. The Flat-Bottom Airfoil will develop the most lift at low speeds and helps return the model to upright when tilted. This is ideal for trainers and first-time pilots. A Symmetrical Airfoil’s top and bottom have the same shape, allowing it to produce lift equally whether right side up or upside down and to transition between the two smoothly. This is recommended for advanced pilots. Lastly, a Semi-Symmetrical Airfoil is a combination of the other two and favored by intermediate and sport pilots.
Wing Area/Wing Loading: Wing area is the amount of wing surface available to create lift. Wing loading is the weight that a given area of the wing has to lift and is usually measured in ounces per square foot. Generally, a light wing loading is best for beginners. The plane will perform better and be easier to control.
 Dihedral: Dihedral is the upward angle of the wings from the fuselage.Dihedral increases stability and decreases aerobatic ability.
Wing Thickness: Wing thickness — measured from top to bottom — determines how much drag is created. A thick wing creates more drag, causing slower speeds and gentler stalls and is ideal for beginners. A thin wing permits higher speeds and sudden stalls — desirable for racing and certain aerobatic maneuvers.
Landing Gear Location: Tricycle gear includes a nose gear and two wing (main) gears, making takeoffs and landings easier—ideal for beginners.
Kits vs. Prebuilts
Until recently, most R/C airplane models came in Kit form—consisting of a box full of parts, a set of plans, an instruction manual and some hardware. And kits remain very popular. Many modelers enjoy the challenge of putting them together as much as actually flying them. Depending on the kit, however, assembly can take weeks or even months to complete, and also requires a well-equipped hobby toolbox.
For a number of reasons—including a shortage of leisure time—hobbyists are now turning to “prebuilt/arf” models as another way to enjoy R/C flight. Actually, prebuilt planes are great for first-time pilots. Because they come factory-assembled, you KNOW they’re constructed well. Many are put together with materials as high in quality as any kit. Because you haven’t put your heart and soul into building them, you’re less likely to be nervous when flying them. And they let you focus on learning to fly, without also having to learn new model building skills.
You can choose from models with varying degrees of preassembly. The following acronyms are commonly used to identify types of prebuilt planes:
 ARF: Stands for “Almost Ready-to-Fly.” Most can be completed and flight-ready with as little as 16-20 hours of assembly.
Major structures such as the wing halves, fuselage, and tail fins all come entirely built and covered.
You simply assemble those sections, install your power plant and radio gear, attach the landing gear and a few other pieces of hardware…and you’re done.
 RTF Glow: and RTF Electric: Stands for “Ready-to-Fly.” Want a model that’s ready for the air as little as 20 minutes after you open the box?
Get an RTF. You’ll still have to complete a few final assembly steps, but far less than even ARFs require.
For the realism that the sound of a piston-pumping engine brings to your flights, select a Glow RTF, For clean setups and no mess select an Electric RTF
In either case, true RTFs will include the power system and radio gear already mounted inside the model. There’s no easier way to get airborne!
Choosing the Size of Your Plane

The “size” of a model plane generally refers to the size of engine, in cubic inch displacement, required to fly it successfully.
The most popular sizes are 20 (requiring a .20-.36 engine), 40 (.40-.53 engine) and 60 (.60-.75 engine).
Many other sizes are available, too, ranging from small, .049-powered craft up to massive, giant-scale models.
Most trainers fall into the 40-size category. That’s because 40s are fairly stable, with enough heft to fly well in breezy conditions, but still small enough to be affordable for new hobbyists.
Many 60-size trainers are also available, and offer the advantage of even greater stability—plus easier visibility once aloft—both due to their larger dimension.
Engines
Model planes can use several different types of power sources. Electric models carry battery-powered motors to turn the propeller. Gliders or sailplanes ride on thermal air currents (some also have electric motors for quick launching to great heights). Most R/C models, however, are powered by Glow Engines.

The most economical are basic 2-stroke engines with brass bushings supporting the crankshaft. For a little more power, you might choose a 2-stroke that uses ball bearings to support the crankshaft. The ball bearings also extend the life of the engine, so you can continue using it to power future models. The cost, however, is nearly twice that of a bushing-equipped engine.
Finally, there’s the 4-stroke glow engine—slightly less powerful than 2-strokes of the same size and higher priced, but offering more torque, swinging bigger props, using less fuel and sounding much more realistic.
Radios
R/C planes are controlled by a Radio System that consists of a transmitter—which stays with you on the ground—plus a receiver, servos, and receiver battery (all of which are “on-board” components, mounted inside your model). Most aircraft radio systems come with everything you need, including a rechargeable battery pack.

As mentioned earlier, first-time pilots should always seek the help of an instructor. And an important part of working with an instructor is making sure that both of you use radios with “trainer system” or “buddy box” capability. The trainer system allows you to connect your radio to your instructor’s, using a cable. You’ll still be the one controlling your model, so long as your instructor holds down the trainer switch on his transmitter. But if you start having trouble, all the instructor has to do is release the switch to take over full control.
Most trainer planes require a radio with at least four channels of control, to operate the throttle, elevator, rudder and ailerons. But not all 4-channel radio systems come equipped with the necessary four servos. Make sure your system has as many as your plane requires.
Tools & Building Equipment
Regardless of whether a model comes in kit form or prebuilt, some Building Tools and Workshop Accessories will be needed to make it flight-ready. These include such common items as a hobby knife,T-pins, screwdrivers, pliers, sandpaper, masking tape, and perhaps a drill. Building a kit also takes some specialized equipment like covering tools. Follow the Accessories Required links for the plane you choose to see a list of the tools needed.


R/C model building adhesives are also required, and differ from the white glue and model airplane cement you may have worked with in the past. Cyanoacrylates are commonly used. These are glues specially formulated for working with wood, which provide a range of curing speeds—giving you as little or as much time as each assembly step requires. “Thick” cyanoacrylates also help to fill slight gaps between parts.
Modeling Epoxies are two-part adhesives, consisting of a resin and a hardener. At steps where very strong bonds are critical, a plane’s manual will often recommend epoxy. The resin and
hardener must first be mixed, then applied to the surface—so mixing cups, mixing sticks and inexpensive, disposable epoxy brushes also come in handy
When you buy a model airplane, you’ll probably also need to buy a number of additional, inexpensive accessory items to make it flight-ready (those items are listed under the Accessories Required links for the plane you choose). These parts are traditionally left out of kits because the appropriate sizes depend on your choice of engine; also, experienced hobbyists may have a brand preference or already keep those parts in their workshop. Required accessories often include the following:
Covering —The adhesive-backed, plastic or fabric “skin” that surrounds a model airplane’s structure, applied by a process of heating and stretching.Pushrods —Rods that link your radio system’s servos to the parts of the model that those servos move. They’re often made of wire or a firm piece of balsa, fiberglass, or plastic, with a clevis fastener at the end.
Control Horns —A bracket, mounted on a part of the model, where the pushrods are attached.
Hinges —Connect the moveable surfaces of a model to the main, static structure.
Foam Rubber —Used to cushion the on-board radio equipment to protect it from engine vibration.
Wing Seating Tape —Applied where the wing fits onto the fuselage, to cushion the wing and prevent exhaust oils from entering the fuselage.
Wheel Collars —Small metal collars which keep the plane’s wheels positioned correctly on the axle.
Wheels —Available in several styles, such as treaded, non-treaded, scale, and air-filled.
Spinner —Plastic or aluminum cone mounted at the “nose” of the plane to improve looks and aerodynamics.
Engine Mount —Reinforced structure, often made of nylon or aluminum, that allows your engine to be attached securely to the plane.
Fuel Tank, Tubing & Filters —The size used depends on the engine you select; therefore, these often are not included with the model.
Engine Accessories —Propellers are usually not included with the engine or the plane; also, your engine may or may not come with a muffler and glow plug.
 |
 |
 |
 |
 |
 Field Equipment Once your aircraft is chosen, built and covered, there’s only one thing left to do…fly it! To do that, you’ll need what we refer to as “flight line equipment”—such as fuel, a fuel pump, engine starting equipment and a few other basic tools. Except for the fuel, most flight line supplies are one-time purchases. You can use them throughout your modeling career, with as many different models as you fly.
Most modelers go to the field equipped with the following, all stored in a “flight box” for easy transport:
Power Panel — the centralized power source for electrical field equipment.12V Field Battery —to supply power to the power panel.
DC Charger —to recharge the 12V field battery.
Glow Plug Clip —an electric device that gives your engine’s glow plug the initial heat it needs to burn fuel.
Fuel Pump —to move fuel from your gallon can or jug to the plane’s fuel tank, available in hand-crank or electric-powered styles.
Fuel Line, Filters & Cap Fittings —to connect your fuel to the pump, and the pump to the plane’s fuel tank.
12V Electric Starter —a device for quick, easy engine starting, powered from the power panel (a small wooden dowel or “chicken stick” can also be used).
Miscellaneous Tools—including a 4-way glow plug/prop wrench.
Glow Plugs and Propellers —it’s always a good idea to carry extras…without a spare, you might be forced to stop flying early. Click Here for our propeller chart.
The glow fuel used for a model engines carries a percent rating, which indicates its nitromethane content. For trainer aircraft, 10% or 15% is recommended. Use a good quality fuel with a blend of castor oil and synthetic lubricants to protect your engine. Avoid “cheap” fuels, which sometimes attract moisture and cause engine parts to rust.